Entry tags:
Casting, continued^2
Following up on this post...
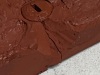
Since people see mostly the button's front, I wanted to optimize it at the expense of the back. So I put the model back into the split pieces for the back, brushed everything liberally with Vaseline,

and poured a new front piece for the mold.

It also occurred to me that if I want to make the front look nice, the sprue that I'll have to carve away should be attached mostly to the back, not the front.
I put everything back together and poured another pewter button.

The back loop (which you can't see in this picture) and the left side are pretty good, but the right side is very gappy. Why would it be one whole side and not the other?
Remember when I poured the third piece of mold, and its top surface was slightly above the top surface of the second piece?

Well, that's still true, and when I put the mold into a vise to hold it while I pour pewter into it,

one side is more compressed than the other. The more-compressed side doesn't fill with pewter.
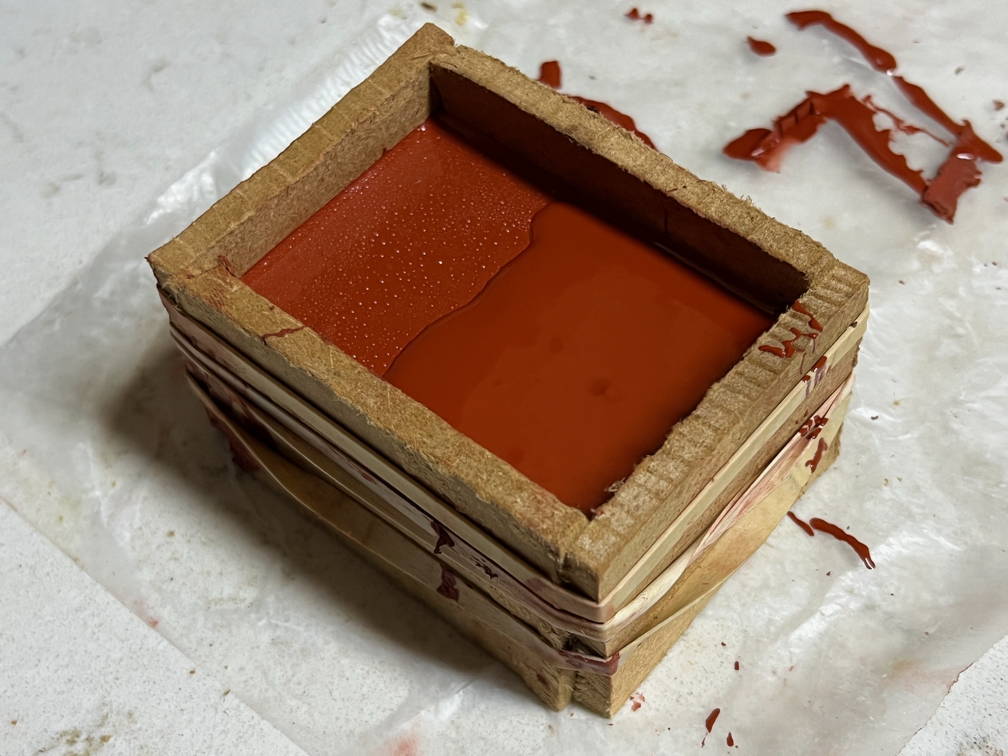
The obvious way to fix this would be to shave down the thick side until it's the same thickness as the thin side. That sounded like a pain, and very error-prone: I would probably end up with something very irregular and lumpy, with some spots being more compressed than others. Alternatively, I could thicken the thin side to match the thick side. Which would take some fine tuning, but I have lots of very-thin flat things of consistent thickness that can be piled on top of one another to the desired thickness. Specifically, one of the paper note-pads that always come in the money-grubbing letters from charities:

The next pour worked much better:

The front perimeter has an occasional small dent, but it's basically complete. And the back loop (not appearing in this picture) is fine. I think it's a keeper!
The one after that had more dents, and I melted it down. After that, they came thick and fast. I found myself carefully counting turns of the vise screw to make sure the compression was consistent from one pour to the next: that extra quarter-turn made it too compressed and the pour too gappy, but half a turn less produced a lot of leakage and flashing, so I settled on halfway in between. And produced 22 probably-usable buttons before I ran out of broken spoon pieces to melt down.

The ones on the left have had the sprues and air-vents clipped off, but are otherwise as they came out of the mold; the ones on the right have suffered some cleanup with a small file.
So that project is mostly done for now.
Since people see mostly the button's front, I wanted to optimize it at the expense of the back. So I put the model back into the split pieces for the back, brushed everything liberally with Vaseline,

and poured a new front piece for the mold.

It also occurred to me that if I want to make the front look nice, the sprue that I'll have to carve away should be attached mostly to the back, not the front.

I put everything back together and poured another pewter button.

The back loop (which you can't see in this picture) and the left side are pretty good, but the right side is very gappy. Why would it be one whole side and not the other?
Remember when I poured the third piece of mold, and its top surface was slightly above the top surface of the second piece?
Well, that's still true, and when I put the mold into a vise to hold it while I pour pewter into it,

one side is more compressed than the other. The more-compressed side doesn't fill with pewter.
The obvious way to fix this would be to shave down the thick side until it's the same thickness as the thin side. That sounded like a pain, and very error-prone: I would probably end up with something very irregular and lumpy, with some spots being more compressed than others. Alternatively, I could thicken the thin side to match the thick side. Which would take some fine tuning, but I have lots of very-thin flat things of consistent thickness that can be piled on top of one another to the desired thickness. Specifically, one of the paper note-pads that always come in the money-grubbing letters from charities:

The next pour worked much better:

The front perimeter has an occasional small dent, but it's basically complete. And the back loop (not appearing in this picture) is fine. I think it's a keeper!
The one after that had more dents, and I melted it down. After that, they came thick and fast. I found myself carefully counting turns of the vise screw to make sure the compression was consistent from one pour to the next: that extra quarter-turn made it too compressed and the pour too gappy, but half a turn less produced a lot of leakage and flashing, so I settled on halfway in between. And produced 22 probably-usable buttons before I ran out of broken spoon pieces to melt down.

The ones on the left have had the sprues and air-vents clipped off, but are otherwise as they came out of the mold; the ones on the right have suffered some cleanup with a small file.
So that project is mostly done for now.